

Ground zero for roof rot is often where roofs meet walls. If water isn’t redirected from the roof into a gutter, it can pour into the wall, where over time it will rot the sheathing and framing and wreak havoc with insulation and drywall. The solution is kickout flashing, which replaces the bottommost piece of step flashing and directs water away from the wall and into the gutter.
Some contractors make their own kickout flashing from a standard piece of step flashing by cutting the roof leg in half, then sliding the upper half over the lower half. But unless this joint is soldered, it will eventually leak, defeating its purpose.
Another option is to use a prefabricated kickout flashing, which is available in powder-coated metal (kickoutflashing.com) or plastic (dryfekt.com) for less than $20. In a pinch, you can make your own by crimping the roof leg rather than cutting it (see “DIY Kickout Flashing.”).
Here are step-by-step instructions for prepping the roof and wall for kickout flashing, adapted from the “Best Practices Manual” of high-performance builder/remodeler Hammer & Hand, in the Pacific Northwest. (The manual is available at hammerandhand.com.)
Step 1: Waterproof the wall.
Apply waterproofing membrane where the bottom of the roof meets the wall [1]. In new construction, apply a peel-and-stick membrane directly to the wall sheathing before fastening a rafter to the wall. As an alternative—especially for retrofit work where roof framing and fascia is already in place—use a liquid-applied paint-on membrane such a FastFlash. The waterproofed area should cover the wall at least 4 inches in all directions from the framing, including the area below the fascia.
Be sure to integrate this membrane into the existing housewrap using proper overlaps. If necessary, make the transition to housewrap at the bottom of the waterproofing with flashing tape, which can be lapped over and sealed to the housewrap later. Extend the flashing tape at least 10 inches past the fascia.

Step 2: Flash the roof and roof-wall connection.
Next, install a course of peel-and-stick membrane along the eaves, folding over the bottom 2 inches onto the fascia [2]. After installing metal drip edge, run a strip of peel-and-stick membrane to cover the entire joint where the roof meets the wall, extending the membrane about 8 inches onto the roof and up the wall.

Step 3: Install the kickout flashing.
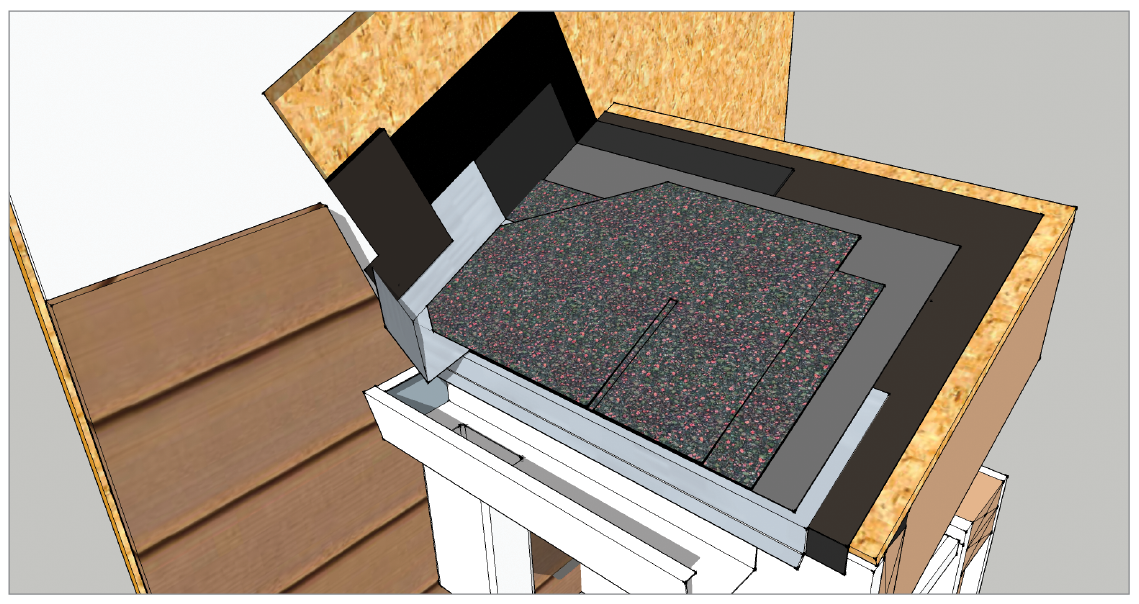
Install roofing felt or synthetic roofing underlayment over the roof, running it up the wall at least as high as where the top of the step flashing will be [3]. Next, install a starter strip of roofing, then use the kickout flashing in place of the first piece of step flashing. Make sure it overhangs the eaves far enough to direct water away from the roof and wall and into the gutter.

Step 4: Weave in the step flashing.
Install step flashing and roofing, alternating as necessary to ensure that each piece of step flashing overlaps the lower piece by at least 2 inches [4]. The top of standard step flashing should align with the top of the shingle, but the overlap is the important thing, as is ensuring that the step flashing doesn’t peek out from underneath the shingles.

Step 5: Flash the step flashing.
After the roofing and step flashing is complete for the entire length of the roof-wall connection, add another strip of peel-and-stick membrane over the top of the step flashing, cutting a slit for the kickout flashing and leaving a 2-inch gap between the membrane and the roofing [5].

Step 6: Button up the housewrap.
Install housewrap on the wall from the bottom up [6]. Use flashing tape along the bottom of the waterproofed wall area to ensure continuous drainage, being careful to lap the upper courses of housewrap over the lower ones and making a slit for the kickout flashing. Keep the housewrap as well as any type of siding material about 2 inches off the roofing.

Add new comment
Related Stories

How to Insulate a Heated, Structural Slab with XPS
ProTradeCraft's Building Resilience season three starts with making a basement more comfortable

How to Retrofit Foundation Footings
To make a low-height basement a more comfortable living space, this remodeler digs deeper but needs to add support to do so


Crawl Spaces to Basements: Proceed with Caution
Converting a crawl space to other uses can upgrade a home and add significant value, but when done incorrectly, it can also be disastrous

Webinar: Project and Trade Management Musts—The New American Remodel 2023
Access the webinar here to learn project and trade management lessons from The New American Remodel 2023

How to Attach a Patio Roof to an Existing House
A graceful integration may mean more work but improved functionality and aesthetics
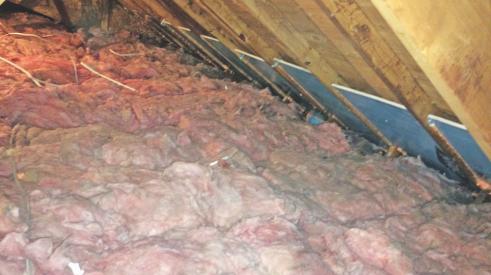
How To Improve Energy Performance in Existing Attics
There’s more to insulating the attic than attic insulation; there’s venting, air sealing, and misery

Model ReModel 2022: A Case Study in Sustainable, Thoughtful Construction
The eighth annual Model ReModel project features an accessory dwelling unit, designed for aging in place, attached to a 19th-century Victorian
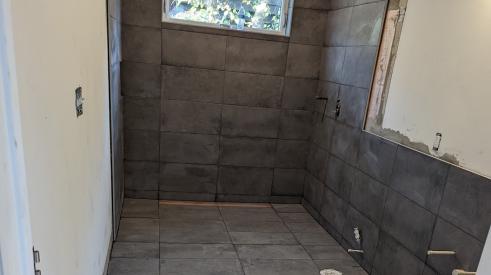
Installing a Curbless Shower
Model ReModel 2022 features an ADA-compliant bathroom. The contractor shares the install process

How to Install PVC Bevel Siding Over Rainscreen
It’s a lot like installing wood bevel siding, except it won’t warp or rot. And it expands and contracts differently and for different reasons