


This Minneapolis home remodel required several major structural changes to meet the needs of the client: new foundation footings and a new slab.
To ensure comfort, a resilient home, and top notch performance, the OA Design + Build + Architecture team plans to insulate under the slab, add radon mitigation, throw in some floor heat, and a capillary break.
(This entire project and all the nitty gritty construction details that follow can be followed through Pro Remodeler’s sister publication, ProTradeCraft and its Building Resilience season three.)
Watch the process below, or continue reading.
Why Retrofit Foundation Footings?
It’s a result of the work on the home’s first floor that impacts the lower level. As it stands, the basement is barely tall enough for people to comfortably walk through.
So, the OA team plans to remove 19 inches of soil to drop the basement floor. This gives them the opportunity to transform the space into a comfortable living area with insulation and added heat.
But before any of that can happen, the remodeling team needs to retrofit footings to the existing foundation.
In ProTradeCraft’s first episode of Building Resilience season 3, “Basement Living Space Solution: Footing Retrofit and Structural Slab,” it’s outlined that the retrofit footing necessity comes from the lack of footings to begin with when the concrete foundation was poured 100 years ago.
Retrofitting the Foundation Footings
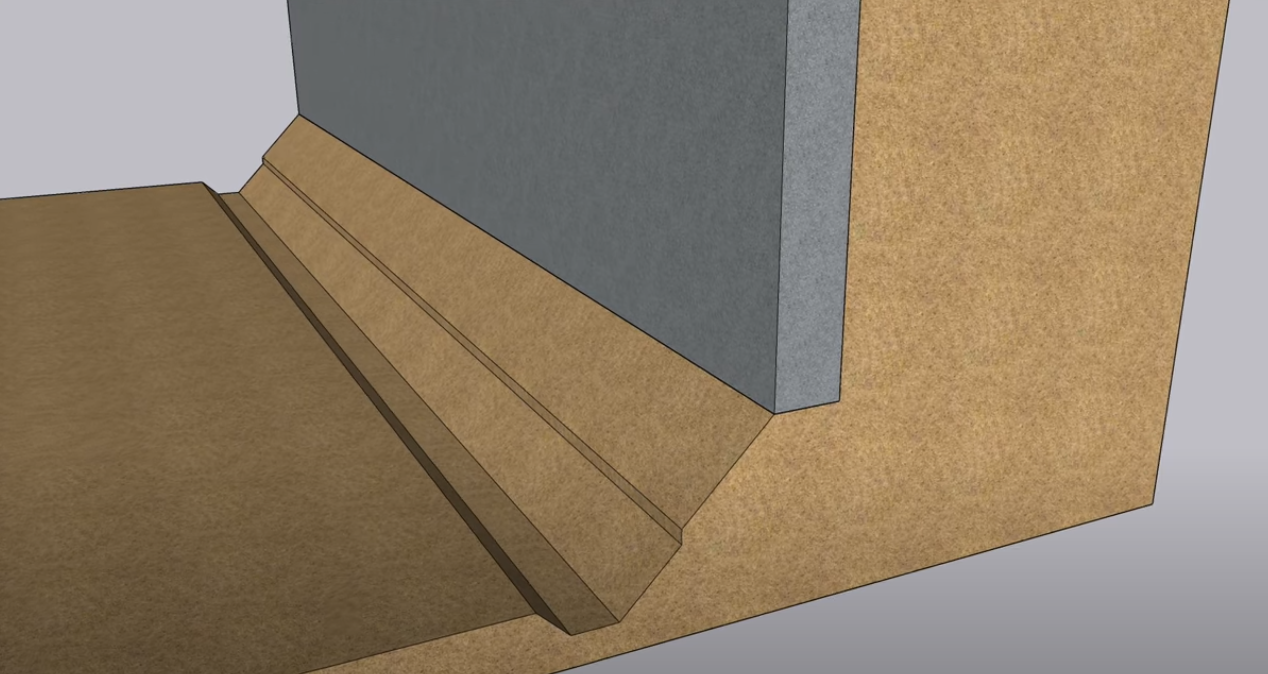
Step 1: The team digs (quickly) at a 45-degree angle away from the bottom of the foundation wall without disrupting the bearing capacity of the soil and dig an interior trench for drain tile
Step 2: To direct water into the drainage trench, the OA team covers the foundation wall with a dimple sheet.
Step 3: Styrofoam insulation is added under the spot where the interior footing curb will be, and then the OA team throws in some rebar in two directions.
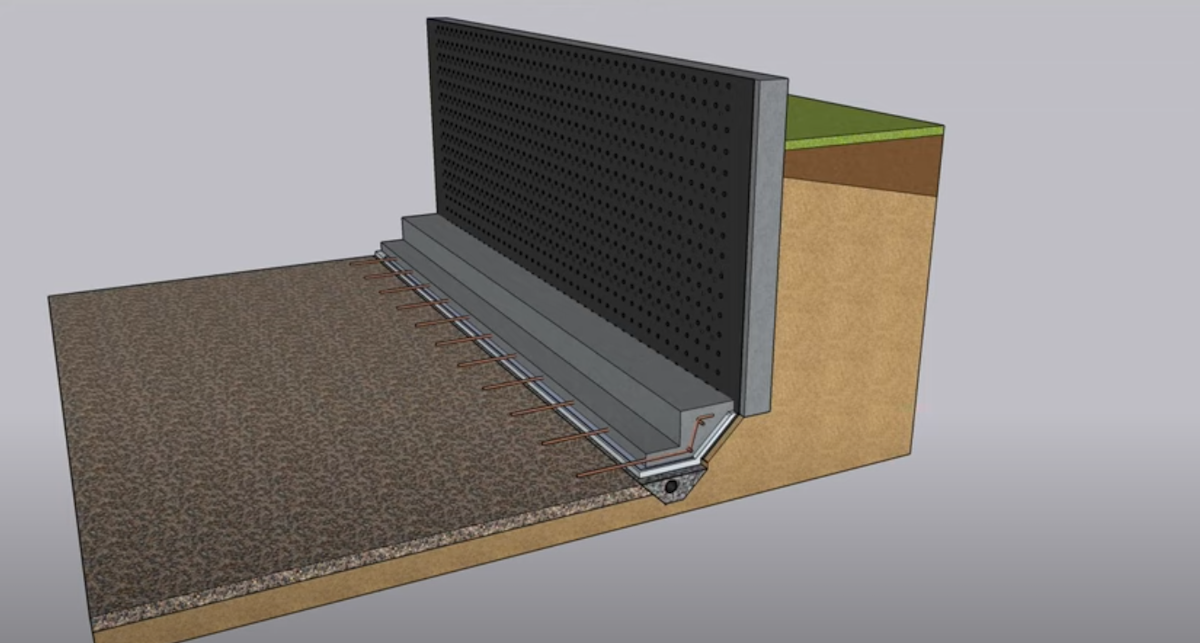
Step 4: The concrete curb is poured. (Note from ProTradeCraft: In the real world, you need to build a form. And then strip it after the pour.)
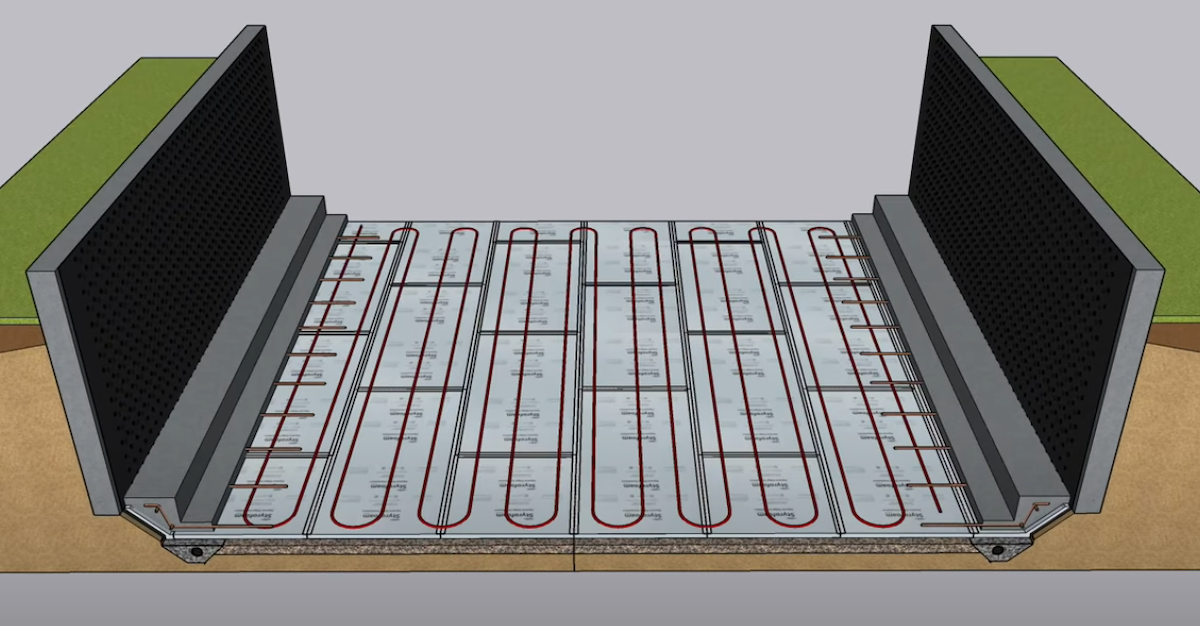
Step 5: Prepare for styrofoam insulation under the soon-to-come slab by taping seams. Then the team lays down hydronic tubing for in-floor heat, which sits on top of the insulation.
Step 6: The slab is poured between the curbs.
Want to see this in real time? Check out ProTradeCraft’s Building Resilience season three, episode two where Michael Anschel, principal of OA, shows the project in detail and each step for insulating and why.
Add new comment
Related Stories

How to Insulate a Heated, Structural Slab with XPS
ProTradeCraft's Building Resilience season three starts with making a basement more comfortable


Crawl Spaces to Basements: Proceed with Caution
Converting a crawl space to other uses can upgrade a home and add significant value, but when done incorrectly, it can also be disastrous

You Need to Talk About It: Mental Health in Construction
Men in the construction industry die by suicide at a rate nearly four times the national average. What should business leaders do about it?

How to Attach a Patio Roof to an Existing House
A graceful integration may mean more work but improved functionality and aesthetics
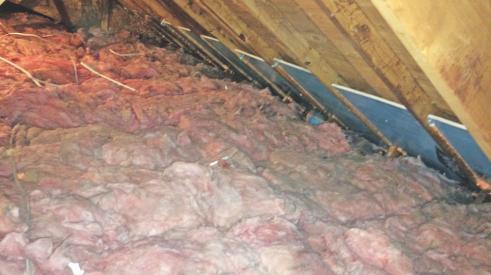
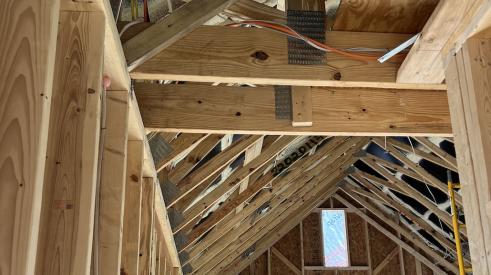
How To Improve Energy Performance in Existing Attics
There’s more to insulating the attic than attic insulation; there’s venting, air sealing, and misery
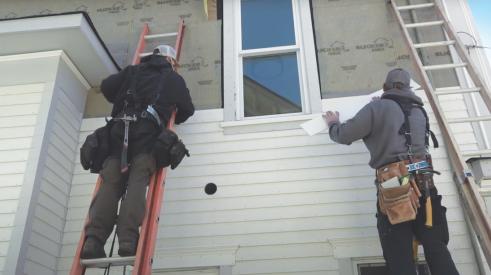
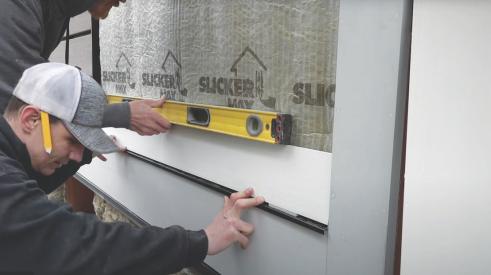
How to Install PVC Bevel Siding Over Rainscreen
It’s a lot like installing wood bevel siding, except it won’t warp or rot. And it expands and contracts differently and for different reasons
Understanding How PVC Trim Moves
Anybody who’s used PVC in an exterior application knows that it moves seasonally. Just like wood, right? Not exactly
To Vent or Not to Vent: A Discussion
In an attempt to strike a middle ground between high-performance and attainable, these three remodelers engage in a candid conversation
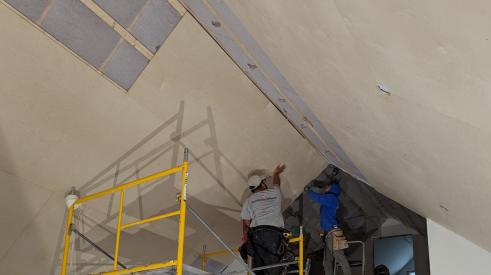
Ceiling Insulation and Installation at Model ReModel
Watch the building process of this accessory dwelling unit's vaulted ceiling