How to Weatherize Roof-Wall Intersections
Around the building envelope, any intersection of two different materials or elements creates a challenge. Some of the most difficult scenarios are the roof-wall intersections—where one part of the roof butts up against a wall section, such as at eaves and rakes, dormers, a garage roof next to a second story, sidewalls, and headwalls.
This requires proper planning, or else it becomes easier for moisture to get trapped or products to fail, leading to rot and other issues down the road. These steps will increase the effectiveness of your installation and ensure your wall and roof integrations leave no room for moisture vulnerabilities.
The Pre-Construction Phase
Weatherizing roof and wall intersections requires communication and coordination between siders and roofers, just like a window installation. Proper scheduling and alternative solutions are necessary, but above all, both contractors must follow the correct sequencing of weatherization layers to ensure no moisture can be trapped.
Step-by-Step Installation of Roof-Wall Intersections With Self-Adhered Roofing Membrane and Weather-Resistant Barrier
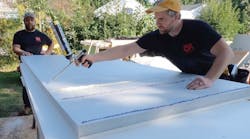
The first step is to have clean, dry roof sheathing. Begin by chalking the layout for smooth installation.
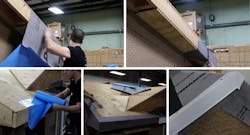
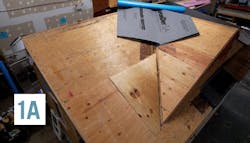
Next, install the roofing membrane at the roof-wall intersection like headwalls and sidewalls.
Extend the membrane 6-12 inches up the wall at the intersection. With acrylic self-adhered membranes, apply pressure to activate the bond of the adhesive to the substrate—pressure activates the adhesive in acrylic self-adhered products.
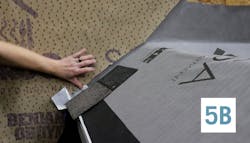
Once the roofing membrane is installed, use a joint method of kickout flashing and step flashing at the intersecting points of the roof and the wall.
Follow with the installation of the weather-resistant barrier (WRB) on the wall intersecting the roof. Shingle lap the WRB over the roofing underlayment and kickout flashing so that water flows down and out rather than under the layers.
Due to the complicated nature of kickout flashing, the WRB must properly overlap the front of the kickout flashing. You can do this by cutting slits in the WRB to cover the kickout flashing.
If the installation cannot be done in this order due to scheduling or material delays, the contractor installing the WRB should leave a 16 to 24-inch flap at the bottom of WRB unattached. Then return to apply the kickout flashing and apply the remaining WRB flap after the roofing underlayment is installed.
If the WRB is installed before the roof flashing details, it can cause water runoff behind the step flashing, leading to potential leaks.
Step-by-Step Installation for Rake and Eaves Details, Areas that Require a Drip Edge
Before installing the eave and rake details, the WRB must be properly installed on the exterior walls.
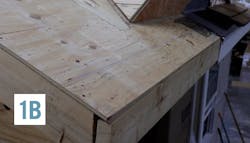
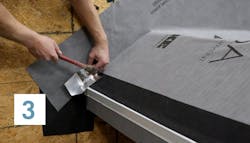
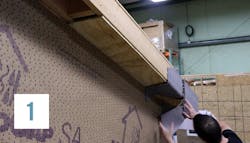
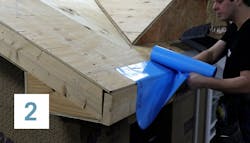
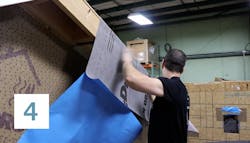
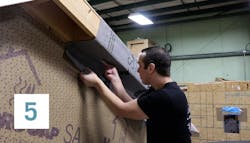
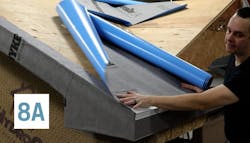
Once the WRB is installed, cut the roofing membrane down to cover the surface of the subfascia and about 8 inches of the roof sheathing.
Next, apply pressure to adhere the roofing membrane to the subfascia and roof sheathing.
After finishing the eave details, install the roofing membrane on the rake.
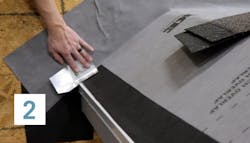
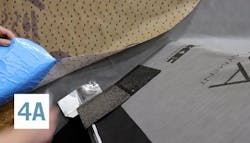
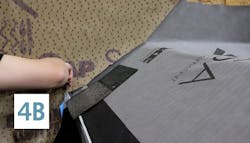
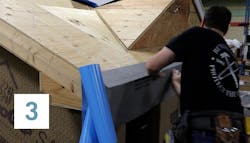
Cut the roofing membrane so it covers the subfascia, 4 inches of the roof sheathing, and 4 inches of the wall. Adhere the roofing membrane to the subfascia on the rake using pressure and overlap it on the wall at a minimum of 4 inches for optimal air sealing.
For maximum protection against ice dams, the roofing membrane must be adhered to the subfascia before installing the drip edge.
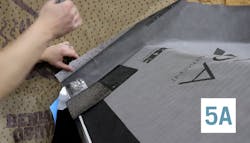
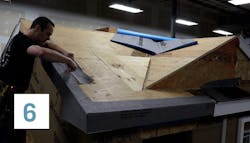
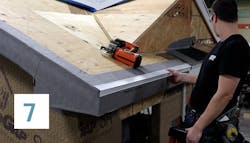
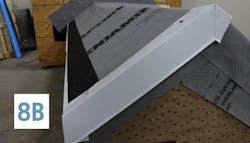
Once all eaves and rakes are covered with the underlayment, install the drip edge on the first layer of the roof membrane.
Once the drip edge is installed, shingle lap it with the roofing underlayment. When the drip edge cannot be properly shingle lapped, use flashing tape to prevent water from running behind the drip edge.
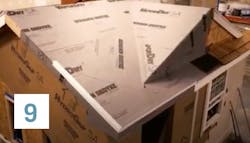
Once the eave and rake details are finished, the layout of the roofing membrane on the entire roof deck can begin.
