Fat-Wall Window Flashing
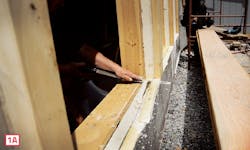
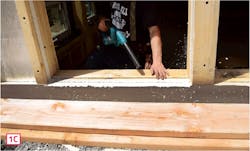
To prep the sill for flashing, the crew shaves the double layer of foam to create a slope toward the outside (1A) and trims the OSB sheathing flush with the wood sill (1B), then uses a blower to remove any foam particles (1C).
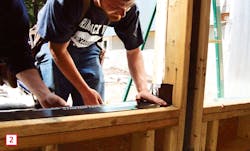
A two-man team works with precut lengths of extra-wide (nominal 10 inches) Zip System Stretch Tape with a single sheet of paper backing. First, they peel back a few inches of release paper and press the tape onto the sill at one corner, making sure it runs several inches up the rough jamb (2). (With split-release paper, one person working alone can remove half of the paper and begin in the middle and work toward each corner.)
With extra-wide tape, it helps to have a second person to hold the rest of the tape in position and keep it from sticking to itself as the other person works the tape onto the sill (3A), into the corner, and up the other jamb (3B).
At the corners, stretch the tape over the foam below and to the side of the opening (4). Complete the flashing with strips of tape that cover each jamb, then the head, turning onto the wall foam to complete the air seal (5).


