Airtight Deck Framing
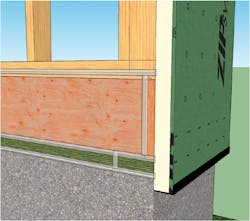
One of the leakiest parts of the house envelope is where the floor framing meets the foundation. On the Model ReModel (an annual project covered by ProRemodeler), we added air sealing to each step of the framing sequence.
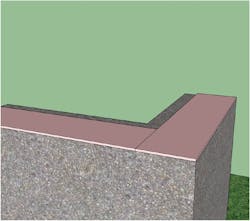
[1] Air sealing begins with a sill seal gasket that serves as both an air seal and capillary break between the mudsill and the foundation. (Anchor bolts are not shown.)
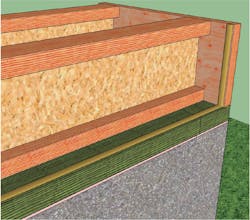
[2] With the mudsill in place, floor framing comes next. Whether rim joists are installed before or after the joists, they should be bedded in a bead of construction adhesive to seal the joint with the mudsill. Also apply adhesive at rim joist butt and corner joints.
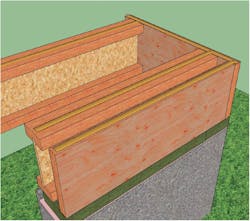
[3] Make sure to use a continuous bead of construction adhesive at the perimeter when laying the subfloor. This is part of a belt-and-suspenders approach to air sealing the many joints created around the rim joist.
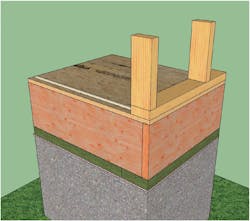
[4] Frame walls as usual, but bed the sole plate in a bead of sealant or adhesive to air seal the connection to the subfloor.
[5] Before installing wall sheathing, caulk all the joints between wall plates, subfloor, rim joist and mudsill using a flexible silicone or urethane sealant.
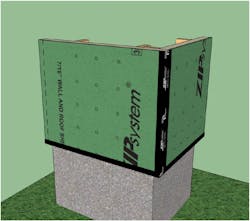
[6] He final step to air sealing the MRM house was to tape the seams in the ZIP System R-12 sheathing.
