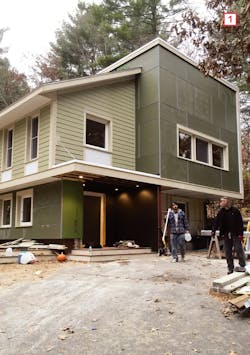
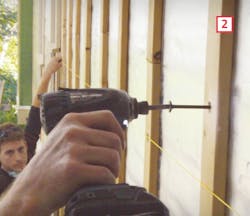
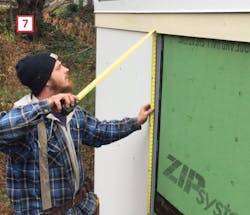
On most walls, we attached the siding to furring strips, which also served to hold in place the 4 inches of rigid foam we added to the outside of the walls. Because foam compresses, before installing the siding, we used a string line to ensure the furring strips were in plane [2]. This was especially important with the large fiber-cement panels, which are less flexible than lap siding.
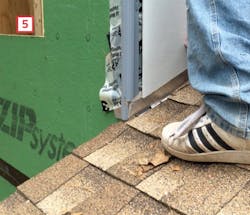
On the retrofitted sections of the house, we mounted the track to furring strips [4] but the more typical installation is directly over sheathing. That was the case on this house at the bump-out, which was new construction built using ZIP System sheathing instead of rigid foam and furring strips.
Step by Step
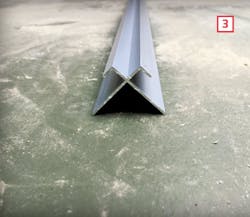
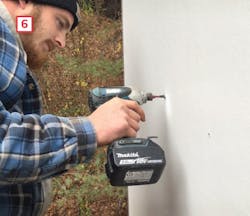
• We began with a single piece of outside corner track fastened vertically to the wall sheathing. The track spaces the siding panels off the wall sheathing about 1/8 inch, which creates a capillary break behind the siding. (In other parts of the building, we used J-channel where the fiber-cement was butted against a trim board.) We slid the long edge of the first panel into the track [5], made sure it was properly positioned up off the roof, and screwed it in place through pre-drilled holes [6].
• At the cut station on the ground, we cut the panel to size and pre-drilled for fasteners. Because the roundhead stainless steel fasteners were designed to be visible, we laid
out the fasteners on a grid to ensure they would be regularly spaced and visually aligned.
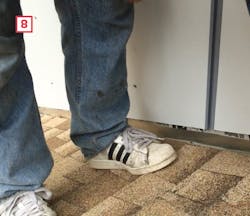
• Back at the wall, the crew tucked the top of the panel under the fascia, then slid the long edge into the track against the in-place panel. The final step before fastening was to lift the panel until the bottom edge was flush with the in-place panel [8].
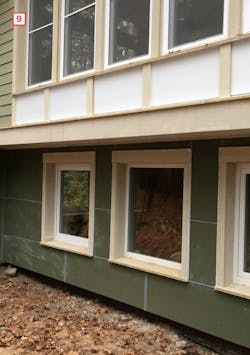
Although panels can be installed on a 4-foot module, on this project we located horizontal and vertical joints to create a geometric pattern oriented around the position of the windows [9].
Get more Jobsite Know-How here
About the Author
David Joyce
David Joyce owns Synergy Construction in Lancaster, Mass. This article is adapted from a video at ProTradeCraft.com. Thanks to David and his crew for allowing us to hang out at their jobsite.
