How to Install PVC Bevel Siding Over Rainscreen
In 2021 (How to Build a Rainscreen for Open-Joint Cladding and How to Install Siding That Lasts), we wrote about new rainscreen materials and open-joint PVC siding. The project was part of what was then a new video series at ProTradeCraft.com about construction in extreme climates, called “Building Resilience.”
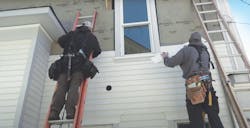
In this article, we look at siding again, but this time it’s from episode 10 of the second season of Building Resilience. The project is a remodel of beautiful home built in 1904 that is also the international headquarters of OA Design + Build + Architecture in Minneapolis, an extreme climate indeed.
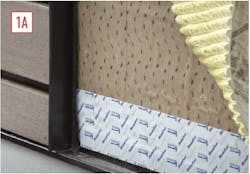
In this next-to-last episode 10, the exterior walls have been prepped for siding using a variety of products from Benjamin Obdyke, all of which are covered in more detail in earlier episodes [1].
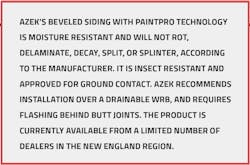
The project includes areas clad in open-joint boards, which provide a contemporary detail, but most of the building will be clad in beveled siding, partly, as OA Founder Michael Anschel explains, “to pay homage to the period it was built,” but also to have a go with a new PVC beveled siding product from AZEK [2].
Anschel notes that it looks just like smooth cedar, then asks a question you’re probably asking: “If you’re trying to make it look like smooth cedar, why not just use smooth cedar?” To answer, he points to rotted trim boards and peeling paint on the wood-clad building next door. “All of the challenges that come with wood, which is a great material and it’s beautiful, but let’s face it,” Anschel explains, “when it comes to our cladding, something that is really, really weather-resistant is probably our best bet.”
Step-By-Step Installation
Installing PVC beveled siding is just like installing wood beveled siding, with one important difference: PVC expands and contracts differently from wood―and for different reasons.
(To learn more about how it behaves, why it behaves that way, and what you should―and shouldn’t―do to avoid problems, see “Understanding How PVC Trim Moves")
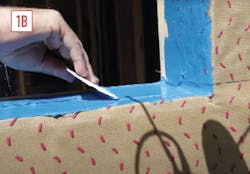
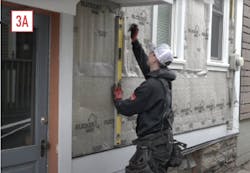
Fastening is important to control movement in PVC, so the first step is to mark lines on the Slicker Max to locate the studs [3].
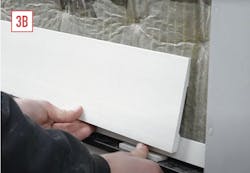
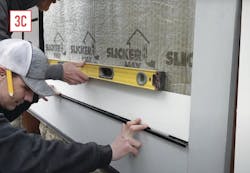
Next is to use a 1½-inch-wide piece ripped from the top of a siding board as a starter strip, which will properly align the bottom of the first course of siding. The two-man crew uses a block to hold both pieces ¼ inch off the metal flashing, and rather than tack the starter strip first then nail the first course of siding, they fasten both pieces at the same time.
The nails, which will be exposed, are placed about 5/8-inch up from the bottom of the board, one nail per stud and no closer than 2 inches from each end.
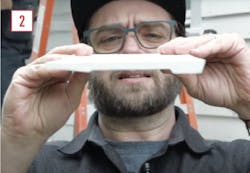
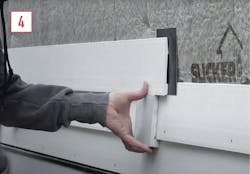
The crew used two sets of spacer blocks to keep the courses even. One set are simple 4-inch squares used only to set the second course because the wider skirt board doesn’t leave enough room to hook a spacer under the first course. The main set are cut from heavier PVC stock into an L-shape, with one 4-inch leg, which is the amount of reveal they are looking for, and a short ½-inch leg, which hooks under the course below [4].
As with wood siding, it can get tricky at penetrations, particularly profiled head casings at windows and doors. But the tools you use to work wood―power saws, coping saws, multi-tools, even sharp chisels―also work with PVC. But there is no grain, so boards with deep cutouts can be floppy, and longer lengths may require two people to maneuver into position on the wall.
After that, it’s rinse and repeat around the rest of the building.
