How to Keep Water Out From Under a Deck
On the 2017 Model ReModel home, I used the Fastendry system from Deckorators for the first time. It uses black neoprene gaskets with a barbed tongue on each side that fits snugly into the edge grooves of the company’s composite decking. When nailed to the joists through the rigid base, the gaskets also serve as hidden fasteners.
The gaskets waterproof the space between deck boards, but not the butt ends. With decking that runs parallel to the house, we couldn’t avoid butt joints because the deck was longer than 20 feet, which is the longest available deck board. The solution was to divide the deck into four sections and terminate the butt ends at three deck board dividers running perpendicular to the house. For aesthetic reasons we eliminated one section and chose to align two dividers with the casings on either side of the sliding door.
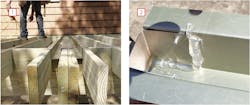
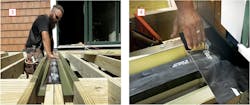
To catch runoff from the joints between the divider boards and the main decking, we added extra joists to support four brake-bent gutters, one running the full length on both sides of both dividers [1]. We sealed each gutter at the house end by folding it back on itself, fastening with pop rivets, and caulking the seams [2]. The gutters followed the pitch of the joists (⅛-inch per foot) past the support beam, where they drained onto the ground.
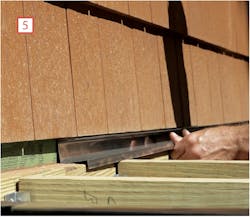
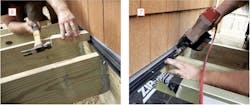
The final step before laying the decking was to seal the joint between gutters with a continuous strip of peel-and-stick membrane [3]. We added an extra piece at the ledger end [4] to make sure the water draining from the deck boards didn’t find its way back into the framing.
Starter Strip
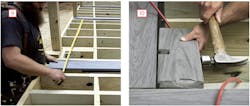
We started the decking against the house with an off-the-shelf stainless F-flashing that tucks up under the siding [5]. To provide a waterproof connection at the flashing, we ripped a grooved deck board to about an inch in width, applied a heavy bead of silicone to the ripped edge, and screwed horizontally through the groove to fasten it in place. Then we inserted the barbed fin of the first neoprene strip into the grooved end and tapped it firmly into place [6]. Finally, we nailed the rigid bottom flange of waterproofing strip into the joists [7], where it would serve as a hidden fastener for the next decking board.
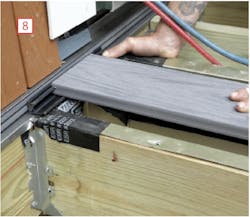
the starter strip [8]. Though not completely waterproof (water can still flow off the sides of the divider boards), this joint helped to anchor the end of the board and it ensured that the divider lined up with the edge of the first full decking board. Once all of the notched dividers were tapped into place, we measured to ensure they were square to the house and consistently spaced [9], then fastened them through the face using Cortex screws and matching plugs.
Field Decking
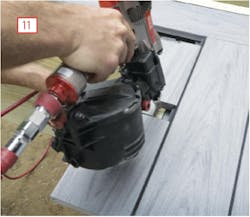
The final step was to fill in between the dividers with full-width deck boards. For each course, we positioned a neoprene waterproofing strip in the groove of the preceding board andPeriodically, we checked course alignment between the three sections of deck boards, but the neoprene automatically sets consistent spacing and no adjustment was necessary. The only extra time we spent was laying out and fabricating the gutters. Otherwise the installation wasn’t any more labor intensive than most other concealed fastener systems.
